Auto Rate Management
Overview
Levart's Auto Rate Management feature is a fully customisable tool, allowing you to set rules to increase or decrease your rates based on room or property level occupancy.
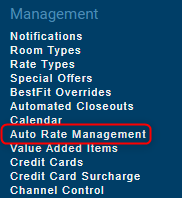
Access the system under Management > Auto Rate Management
Before creating a new template, you must first create base rates that will be the control price. You can either create one rate per room type, or just one master rate where you can add on or remove a cost per room. The base price should include all your seasons such as school holidays and long weekends as rate periods within the rate.
Rates should also be set to Client/Channel Profile Only so they are not visible to the general public.
Levart recommends calling the rate "Revenue Management" or similar to help you identify the rate.
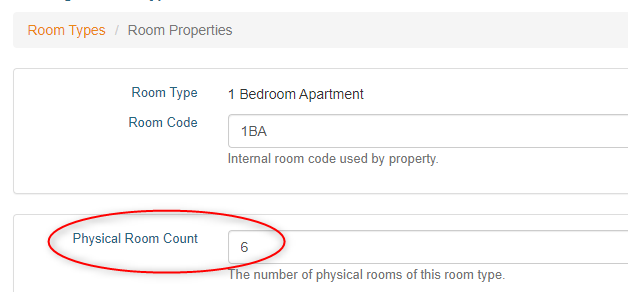
Important: to ensure occupancy can be calculated correctly, go to Room Types > Properties > enter the Physical Room Count. This must be the real number of that room type you have. Repeat for each room.
Creating a template
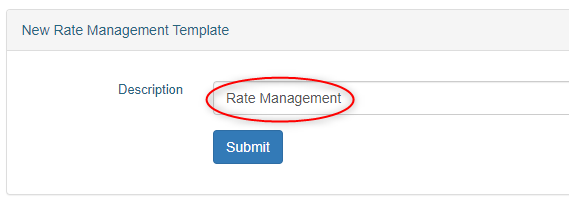
Under the Auto rate Management page, create a new template by entering a name in the description box and click Submit
Then click on the new template name you've created to edit. The template will initially load with some default lead times and occupancy levels.
Edit the Lead Ranges
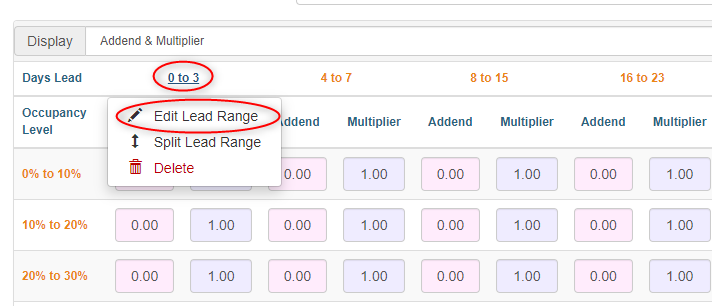
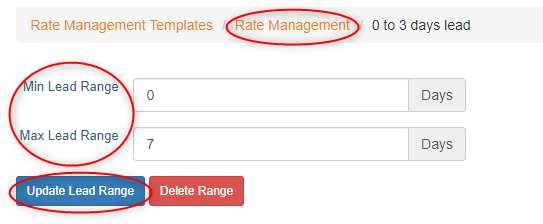
To edit a Lead Range, click on the current range numbers (e.g. 0 to 3) and then Edit Lead Range
Edit the min and max lead range > click Update > then click the orange breadcrumb link to go back to the template
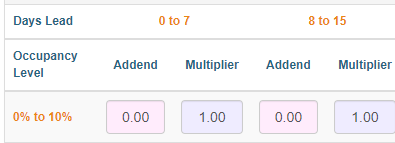
The system will update the range and arrange for the next Days Lead to commence on the next number e.g. 8
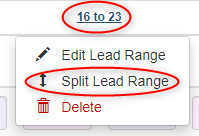
To split a lead range, click on the current range numbers and then Split Lead Range
The days will then be split into 2 lead ranges
Continue these steps until you have all your required Lead Ranges as far out in advance as you would like.
Edit the Occupancy Levels
The occupancy level brackets is what will trigger changes to your rates, in conjunction with the lead times set above.
Levart recommends thinking about what Occupancy Level ranges you would like before you start editing, and considering whether you will be basing off occupancy at each room level or at a property wide level.
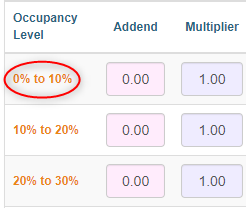
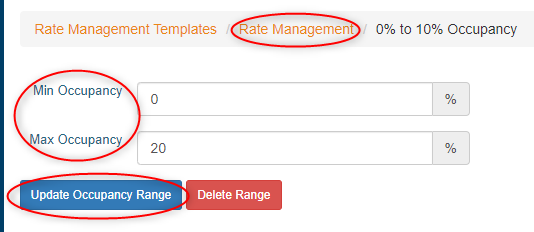
To edit an occupancy level, click on the existing occupancy range (e.g. 0% to 10%) and you will be taken to the edit page
Enter the new Min and Max occupancy > Update > use the orange breadcrumb link to navigate back to the template.
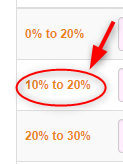
If you now have overlapping ranges (e.g. below you no longer require the 10% to 20% range) click on the range and then delete.
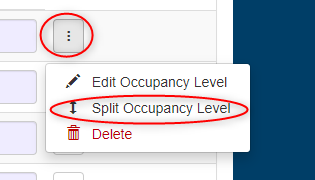
You can also Split an existing Occupancy Level range by clicking the dots to the right hand side
Using Addend or Multiplier
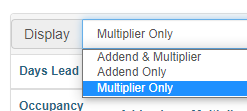
Next, decide whether you will be adjusting the rates by an addend (dollar amount) or multiplier (percentage amount). If you are only using one, use the Display dropdown to select and scroll down and click Update Template. This way you will only see the fields you need to.
Setup Occupancy Level Factors
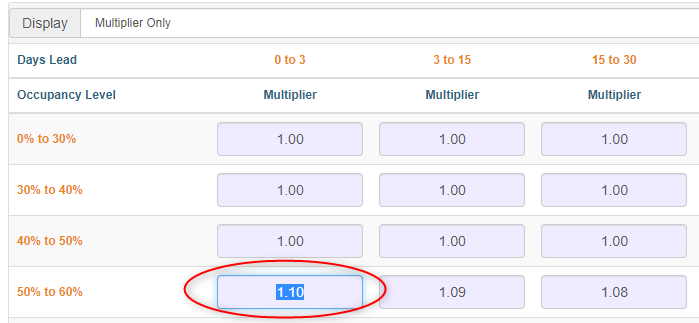
To change a multiplier to increase by 10% at a certain occupancy level, highlight the number and type 1.10
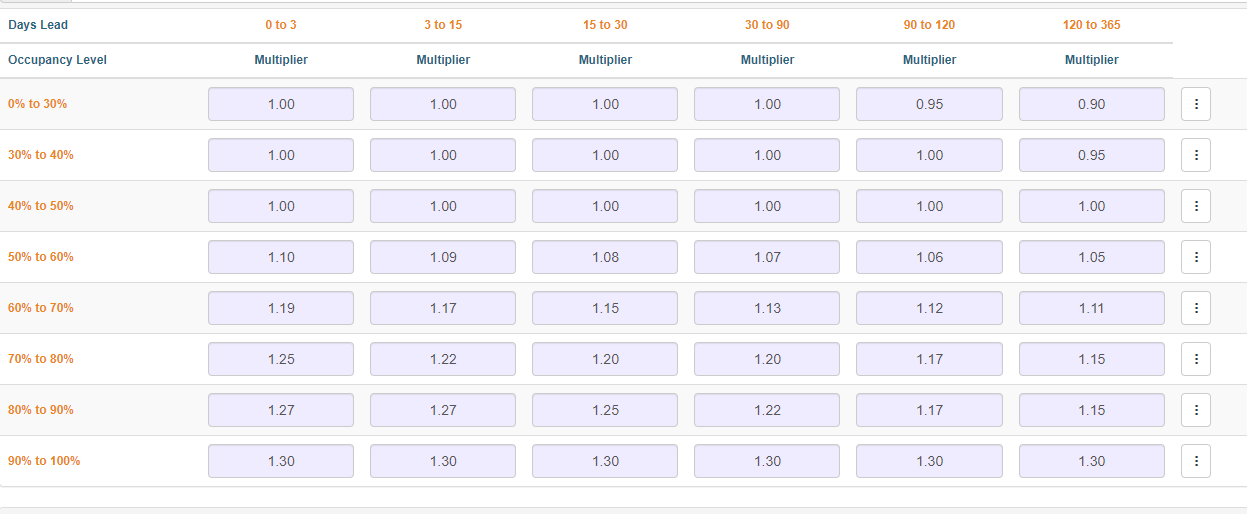
Below is an example of how your template may look after editing all your multipliers:
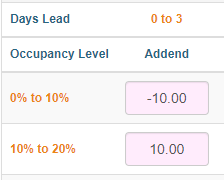
If you are using the addend (dollar amounts), type -10 to take $10 off, and 10 to add $10 on. Example below:
Attaching Rates
It is essential that you have base "Rate Management" rates created in Levart. These are the rate types that control all the base pricing and you will enter all your seasonal date ranges. Ensure they are set to Client/Channel Profiles Only so they are hidden from the general public.
You can either:
- Create just one Rate Management rate under one room type, and adjust the rates for all rooms off that one rate by using addends or multipliers
- Create a Rate Management rate for each room type
To attach the rates:
- In the New row, click the Rate Type you wish to attach. This is the rate you would like to be updated as per the rules set above. For example below, I would like my "Best Available Rate" to be updated
- In Status select enabled or disable. If enabled, changes to the rate will occur. If disabled no changes will save yet.
- Select your Occupancy Level as either Room or Property. This means the occupancy amounts will pull from either that Room Type or Property wide.
- Select the Base Rate. This will be the "Rate Management" rate type you have created.
- Add in an Addend or Multiplier if necessary. These will add on or take off a dollar or percentage amount from the base rate before the occupancy level changes (useful if you are only creating one Rate Management rate).
Below are examples of how this may look if:
- You are using just one rate to manage all room types:
- You have a separate rate per room type
Once you are happy with all of your entered settings, ensure all rates are set to enabled and the rates will begin changing at the next update.
Check what your rates are set to
Next to each attached rate, click on the 3 dots and select preview
You can see what changes are being made to the price by viewing the graph or the list below.
For example, the below date shows us that this room has an occupancy of 80% with 1 lead day. A multiplier of 1.25 has been applied and our final rate is $336.25.
The below date the rate has been decreased by 10% as the room is at 0% occupancy:
If you require any assistance, please contact support@levart.com.au
