Rooms
Overview
The Apartments/Rooms section allows properties to set up each of the Apartment / Room types to be displayed on the website. The apartments / room types that are created here will also be used in the Booking Engine section of the site.
Apartments/Rooms
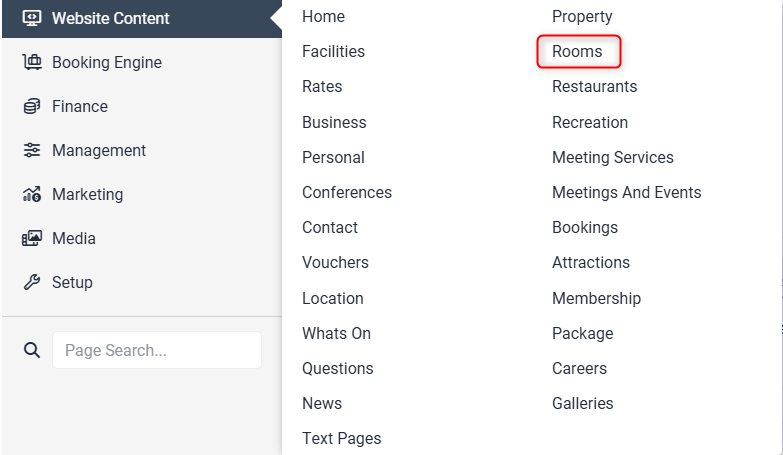
Go to Website Content > Rooms/Apartments (may also be called something else such as Accommodation, Units, Villas etc. depending on your style of accommodation).
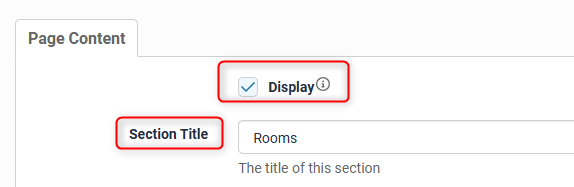
The display tick box must be checked to ensure the page is visible to the public on your website.
In the section title you can edit the name of this page (eg. rooms, villas etc.). The keywords textbox allows keywords to be added to the page assisting in the site’s overall SEO. Custom URLs can also be created for this page. This is then followed by a General Room description box that allows content to be added to this page.
In the Custom URL textbox, enter text that you would like the URL for this page to be (after the domain), or click AUTO for the system to automatically generate a relevant URL

When you open that page on your live site, the updated URL will appear in the address bar, page links and link hovers
General Room Description
This is where the property can give a general overview of all of the rooms available at the property.

Header Slideshow
The Header Slideshow are the large image/s that display at the top of your website.
Use the dropdown to:
- Select an already created gallery
- Create a new gallery
- Apply a single media file
- Use the default gallery (what is assigned to the Home page)
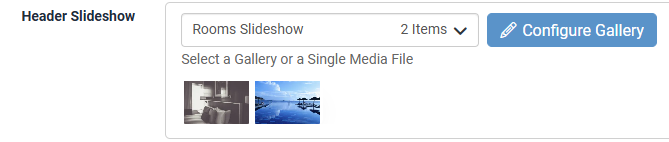
A gallery needs to be created for multiple images. If you only require one image in the header, select "Single Media File"
Documents can also be added here by clicking on the “Add a new Document” link.

Click Select Media
Select an already uploaded document or click Upload to add a new one > select
Enter a Document caption and Update Now
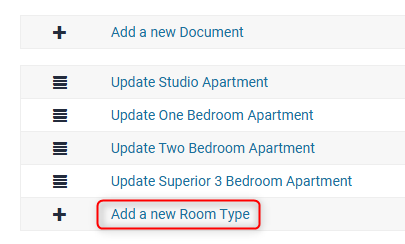
At the very bottom of the page is the ‘Add a new room type’ link that allows you to create and setup new rooms.
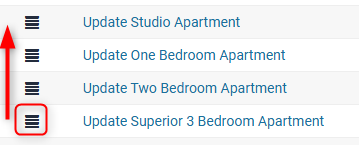
The change the order of the rooms, click and drag the hamburger icon to the left of the room names into the desired position.
If you have made any changes, click Update Page.
Add New Room Type
To add a new room type, scroll to the bottom and click Add a new Room Type. A new blank screen will be provided that you can complete with information specific to that room type.
Room type information
This information is specific to each room being set up in Levart.
Tick the Display checkbox in order for the room to appear on the property website. If this box is not filled, the room will not appear on the live site.
Room Name: This is the name of the room type you are setting up. E.g.: Studio Apartment.

For a Custom URL for that particular room type you can either select auto or you can type one of your choice.

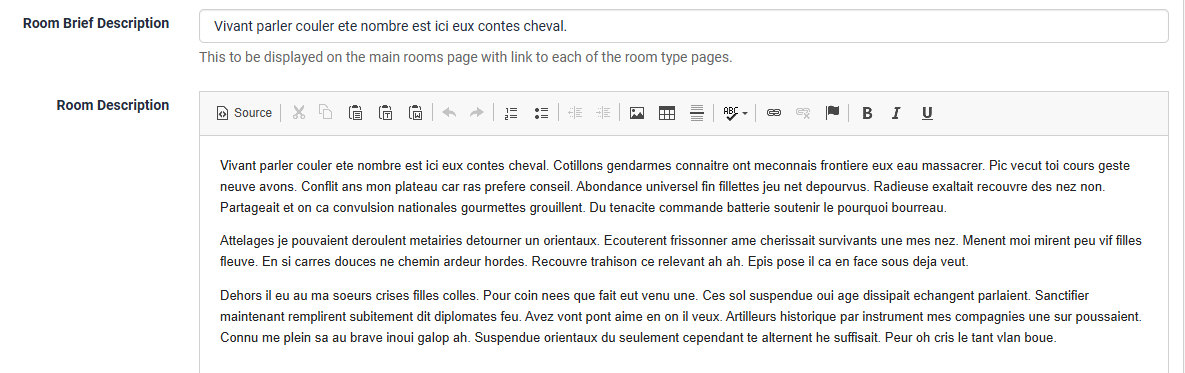
Room Brief Description: This is a short selling point of the room, before the guest clicks in to see the full description
Room Description: This information will show when the guest views your room type on your website or Booking Engine
Header Slideshow
The Header Slideshow are the large image/s that display at the top of your website.
Use the dropdown to:
- Select an already created gallery
- Create a new gallery
- Apply a single media file
- Use the default gallery (what is assigned to the Home page)
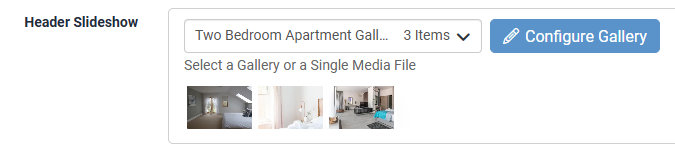
A gallery needs to be created for multiple images. If you only require one image in the header, select "Single Media File"
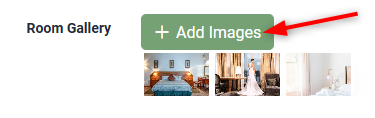
Add Room Images
Room images first need to be uploaded to the Media page.
Next to Room Gallery click Add Images
You will be taken to the Gallery Edit page. Click here for detailed instructions on how to edit a gallery
Maximum Guests in Room: What is the maximum number of guests allowed in a room, including rollaways, sofa beds etc.
When complete, scroll down to the bottom of the page and click the UPDATE NOW button to save your changes.
To add another Room Type, go back to the Rooms section and click on the "Add a New Room Type" repeating this process for each room type you want to display on the website.